
Although there is a virtually inexhaustible supply of gorgeous wrapping paper for every occasion, sometimes you want the personal touch. For example, you may want to add photos or text to make your wrapping paper stand out for that special someone.
One way you can do this is to have a go at creating your own custom wrapping paper! If this is something you have been toying with, I explain two methods below including how to make your own wrapping paper - enjoy!
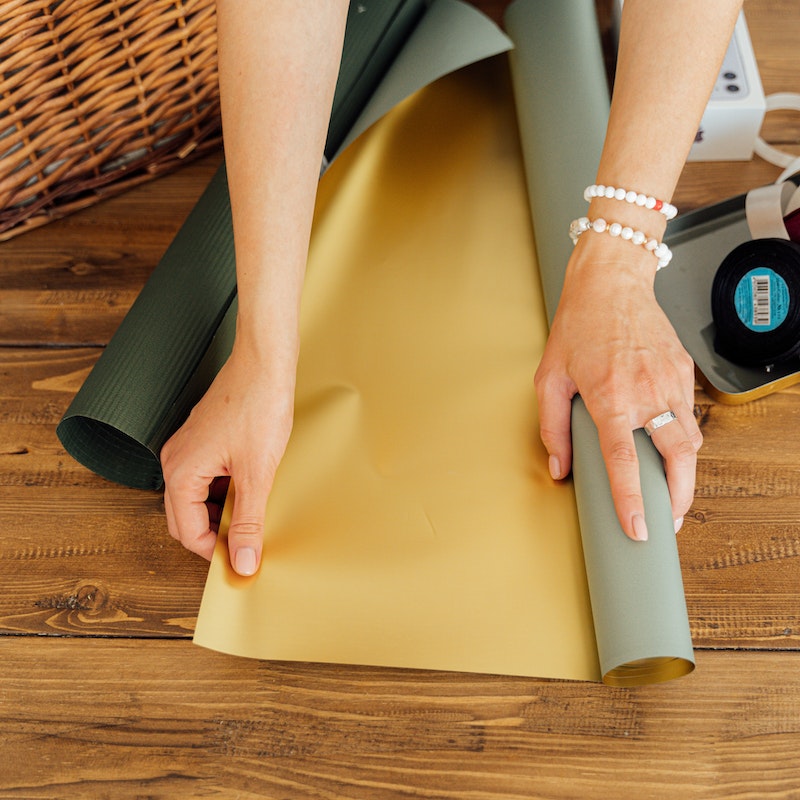
Benefits of Making Your Own Wrapping Paper
Let’s take a look at the advantages of making your own wrapping paper first and there are a few:
- Complete creative control.
- Quicker process to get the wrapping paper.
- Complete size control.
- It’s a fun project to have a go at!
The main benefit is that you essentially have a blank canvas to work with and can make the wrapping paper to your exact specifications without any limitations from the supplier. Also, if you are into this kind of thing, it’s really fun to do and will scratch that creative itch!
Step-by-Step Guide
Now, you can create custom wrapping paper simply by cutting a sheet of paper to size and drawing on it! However, in this method, I am explaining how to make your own wrapping paper digitally and then print it. This requires that you have a computer or laptop, some type of graphic software like Adobe Photoshop, and a decent printer.
Creating the blank canvas
The first step is to open your software and create a blank canvas/file to work with! Now, you can use advanced software like Adobe Photoshop but there are plenty of free online tools to use too, and some pretty decent browser-based graphics editors like Canva.
You need to make sure the canvas size reflects the paper size you want, and that the DPI (dots per inch) is set to 300 too as this is the ideal resolution for printing photos.
Adding a background color
With a blank canvas, you can now add the basic background detail. Most wrapping paper types have a solid underlying background color which additional patterns, shapes, and details are added onto.
Most graphic design software will have a fill tool that allows you to fill an area (i.e. the background) with and single solid color. It’s a simple case of selecting the fill tool, choosing your desired color, and clicking on the background to change it to that color.
Adding Patterns/Decorations/Images
Now you can add details and this is where you can have some real fun! Maybe you want to add photos of the gift receiver? Perhaps you want to add text and write a silly message or something simple like their name?
The possibilities are endless and it’s a case of working with the tools you have available in the software to create a fun and unique design. If possible, make sure each item you add like a photo or text is added as a separate layer (this means you will be able to move it independently without disrupting the other items in your design).
Saving the Design
When you are happy with your design, save it! Always save the original file complete with all the separate items and layers as you can then use it again as a template or make changes if you find the first print didn’t look as you intended.
For example, in Adobe Photoshop, you would save it as a PSD file. Once the original is saved, you must then export it to a printable file format such as JPEG, BMP, or PNG. This effectively flattens the image, adds a little compression, and makes it print-ready.
Printing Your Custom Wrapping Paper
With the file exported, you can print it! Make sure that you pay attention to the print settings as you want to use the highest print quality possible, or a print quality suitable for photo paper. This may be a case of trial and error, and you may need to print a few test pieces first to get the settings right!
Customize Your Wrapping Paper With ViolaGrace
If this all sounds like hard work and you have little to no graphic design knowledge, I have the perfect alternative solution! Here at ViolaGrace, we have an entire range of custom wrapping paper that you can add a personal touch to!
The process is incredibly easy and you can use our web-browser editor to add images, shapes, and text to your wrapping paper.
First, you select the basic paper style from our extensive collection, you then proceed to the editor where you can add text and other objects with the simple drag-and-drop tools. Lastly, you head to the approval stage where you check our design and finalize the details - easy!
This still gives you the creative freedom to customize your wrapping paper, without the need to own graphic design software like Adobe Photoshop, or have a high-quality photo printer!

